OwnCloud client configuration (procedure)
User Registration for LLAMA Services
Access https://users.llamaobservatory.org/alta.phpClient Program installation
If you are using Windows, access the following link, download the installer and follow installation instructions https://owncloud.org/install/#install-clients At the end of the installation, the wizard will ask you if you want to execute owncloud client, check yes and proceed to next step. If you are using GNU/Linux, access the following link and follow the instructions according to your Distro: https://software.opensuse.org/download/package?project=isv:ownCloud:desktop&package=owncloud-clientClient Program Configuration
Once client program is installed, you will have to configure it, that is: configure owncloud server url, username and password. Hopefully the administrator will already registered you on the system.Windows Clients follow these steps
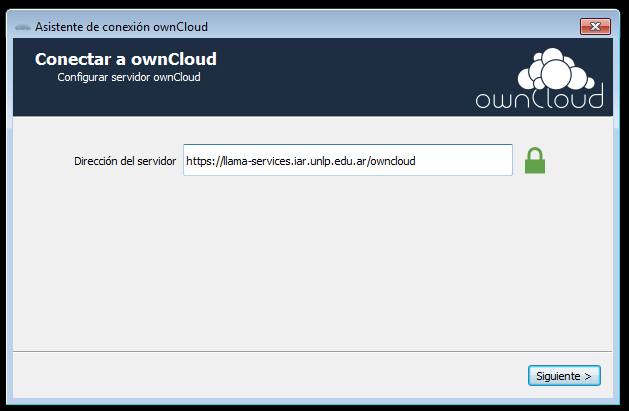
Specify Server URL
Specify server URL: https://llamaobservatory.org/owncloudAccept server certificate
Check "Trust this certificate anyway" and click next Note: You may want to check that the certificate window was correctly closed. Some users have experienced that the cerficate window opened more than one time.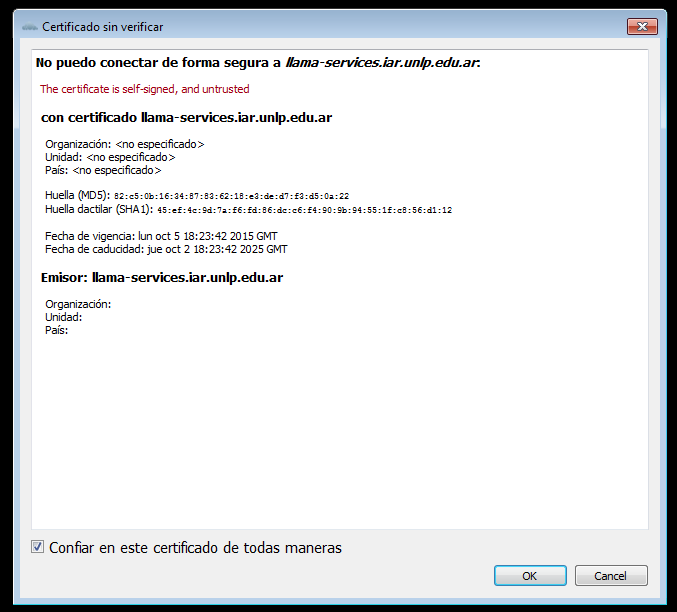
Username and password
Specify username and password and click next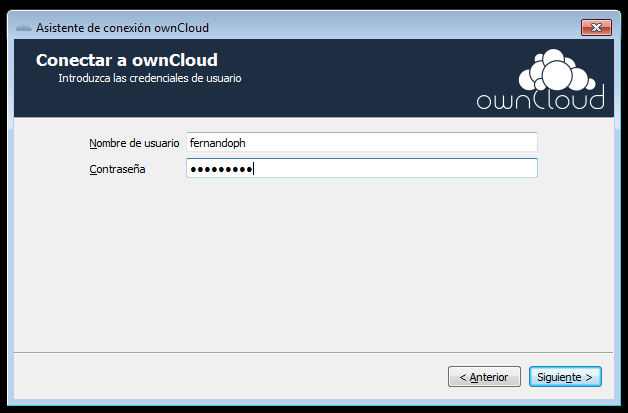
LLAMA Owncloud connection
Check "Sync everythink from the server" (make sure you have space) In the "Local Folder" button you can choose a different folder from the standard to store the files. Remember that this folder is the one that will be permanently being synchronized with the owncloud llama server. Click "Connect"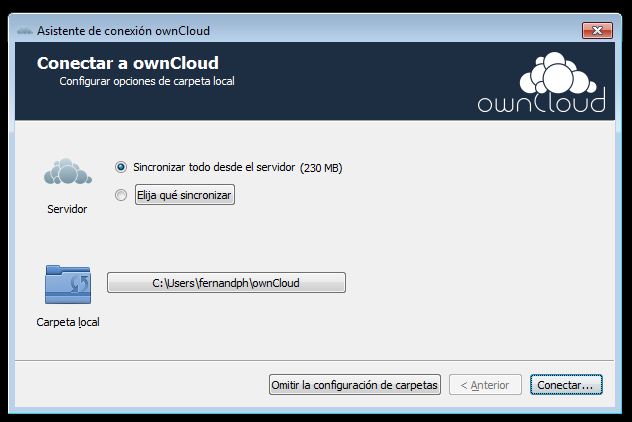
Everythin Ready!
Click finish to close the wizard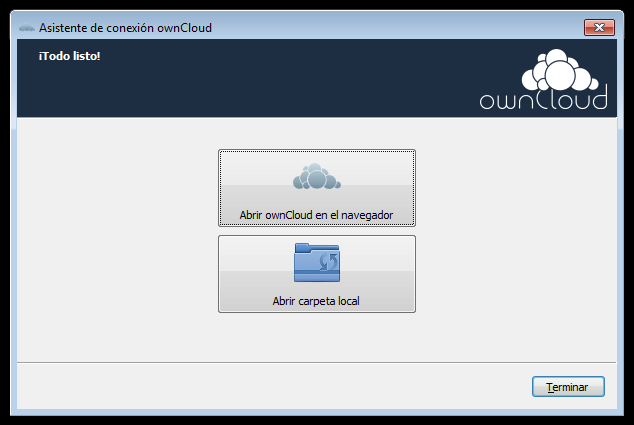
Take a look to your local folder
Accessing the local folder configured in the wizard (default: c:\Users\username\ownCloud) you can see the folders and files synchronized with the server. You can now perform any file/folder operation in this folder and the changes will be automatically uploaded to the llama owncloud server.
GNU/Linux Clients follow these steps
- Open a terminal and type owncloud and press enter
- The owncloud icon will appear in the task bar
- Double click in the owncloud icon
- The configuration wizard will deploy
- Follow configuration steps for windows clients except for the last one: "Take a look to your local folder"
Owncloud web access
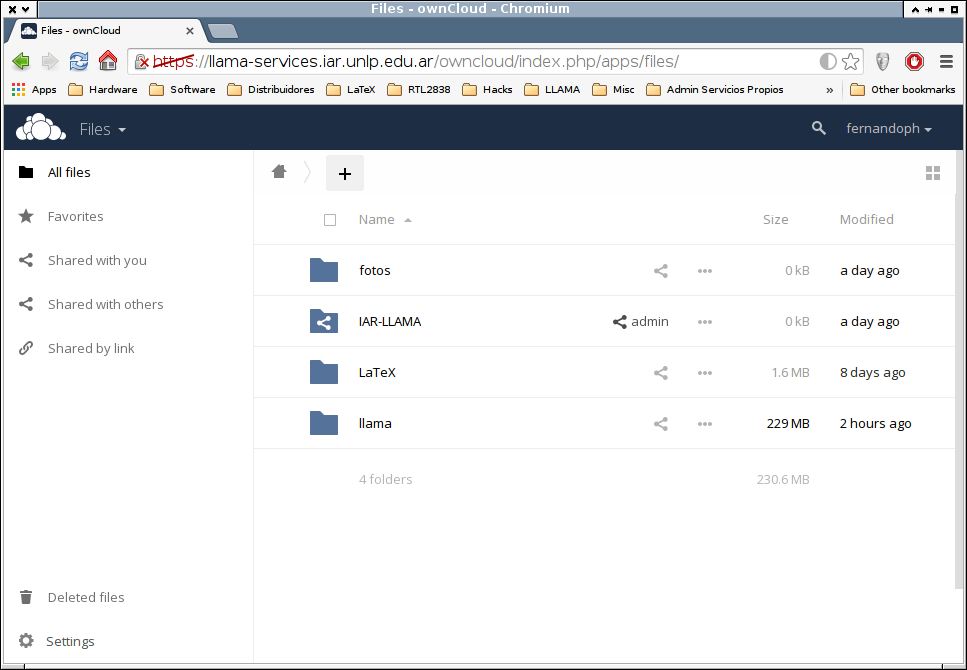
You can access your owncloud files vía any web browser, just type the server url https://llama-services.iar.unlp.edu.ar/owncloud Type your username and password and press enter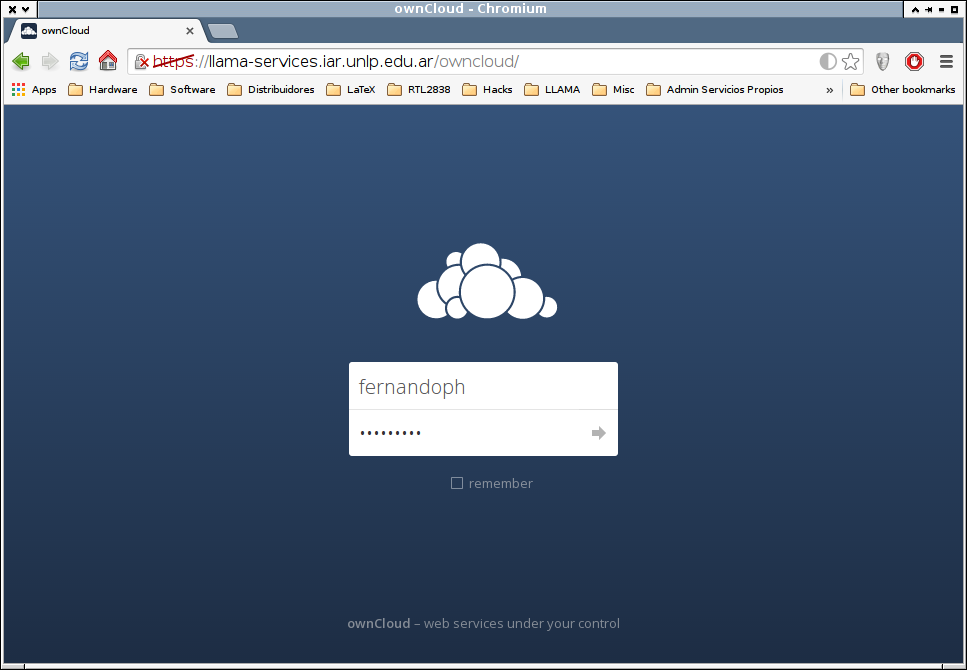 You can now operate on your files from any browser
Owncloud portable devices access
Owncloud have apps for Android and IPhone portable devices. The official app for Android has a cost of 9.60ARS (~1 US dollar), but it has a free (free of charge) app too. Paid App link: https://play.google.com/store/apps/details?id=com.owncloud.android Free (of charge) app: https://play.google.com/store/apps/details?id=com.ocloud24.android I've been testing both, the offical app and the free of charge app, they both work pretty well. The procedure for accessing llama owncloud services once you installed the app is similar to the windows or linux procedures, the important data you have to know is:- Owncloud llama server:
- Your Username
- Your Password
 |  |  |
Comments
- Set ALLOWTOPICVIEW = AllUsersGroup


Topic revision: r9 - 2016-06-22 - FernandoHauscarriaga
")
Ideas, requests, problems regarding TWiki? Send feedback